ESP32 devices
scripts described here live in the filament-rfid repo (mjsx was ported
out of its ui.js). The mjsx CLI at packages/cli
(bun packages/cli/bin/mjsx.js push|ota|device wifi|fleet ...) wraps the
push, OTA, and provisioning flows described here; this page remains the
reference for the underlying firmware scripts (flash-s3.sh,
ota-s3.sh) and the HTTP/serial endpoints. What exists and works now: a
four-board fleet, all
Waveshare ESP32-S3 touch-LCD boards, running mjsx apps as a pushed JS
bundle evaluated by the firmware’s embedded MicroQuickJS — pushing a new
app never means reflashing.
The boards
Section titled “The boards”Selected at build time with a flag to flash-s3.sh / ota-s3.sh; the
board blocks live in firmware/esp32/filament-rfid-bridge/config.h.
| Flag | Board | Panel | Touch |
|---|---|---|---|
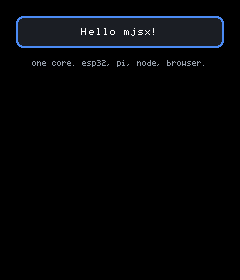
| (default) | ESP32-S3-Touch-LCD-1.69 | 240x280 ST7789V2 | CST816T |
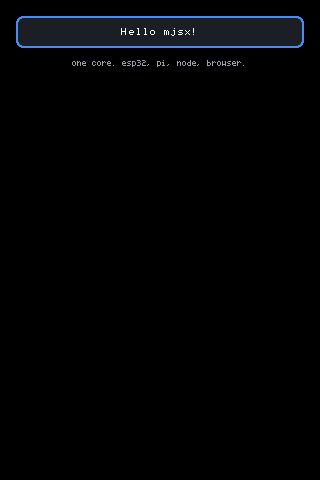
--b35 | ESP32-S3-Touch-LCD-3.5 | 320x480 ST7796 | FT6336 |
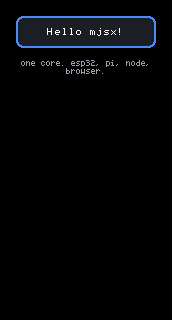
--b147 | ESP32-S3-Touch-LCD-1.47 | 172x320 JD9853 | AXS5106L |
--b128 | ESP32-S3-Touch-LCD-1.28 (round) | 240x240 GC9A01 | CST816S |
The same app on each of them — examples/hello, unchanged, no per-board
code. Flip between the panels to see what the four rows above actually
mean:
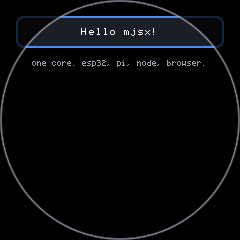
The round 1.28” board is the constrained one, and its quirks are worth knowing because each cost real debugging:
- The module is an S3R2: 2MB quad PSRAM, so the build must say
PSRAM=enabled—opibricks the boot. - The default 2MB JS heap is the whole chip there: the alloc fails and
the engine silently never starts. Its
config.hblock capsJS_HEAP_BYTESat 1MB, which runs the full example set and leaves room for the frame canvas. - USB is a CH343 UART bridge, so the console stays on UART0
(
CDCOnBoot=default) — and macOS’s CDC driver drops large serial writes to it. esptool works only throughscripts/esptool-chunked.py, a wrapper that chops every serial write into small (16-byte) flushed chunks with a pause between them. Slower, and it works.--b128sets all of this.
LED_QUIET (on by default) parks a board’s onboard LEDs dark at boot —
plenty of boards ship LEDs that light with no help from the firmware (a
floating active-low user LED glows, an addressable RGB flickers on line
noise). LED_OFF_PIN / LED_RGB_PIN point it at the offender per board.
First flash: USB, chunked
Section titled “First flash: USB, chunked”PORT=/dev/cu.usbmodemXXXX ./scripts/flash-s3.sh [--b147|--b128] [--display] [--js] [--sim] [--force]
USB flashing on these boards is unreliable for long sustained writes — reproducibly, at every baud rate, stub or no stub. The script works around it rather than fighting it: it splits the app into 64KB chunks, writes as many as one connection will take, and resumes from wherever a pass died (esptool prints one “Hash of data verified.” per file, so a partial run says exactly how far it got). A cache of what was last flashed means a rebuild only pushes the chunks that changed, and the chunk carrying the image header is written last, so a half-written image has no valid header to boot-loop on.
Every flash after that: OTA
Section titled “Every flash after that: OTA”IP=192.168.1.x ./scripts/ota-s3.sh [--b35|--b147|--b128] [--display] [--js] [--sim] [--r1..3] [--jsram]
Once the board is on WiFi, OTA replaces the multi-minute chunked USB
flash with a single transfer of a few seconds — a streamed HTTP upload to
the board’s /update endpoint, with espota.py as the fallback for
firmware that predates it. The image lands in the inactive OTA slot and
is verified before the board switches to it, so a failed update leaves
the working firmware running. Use OTA for everything after the first
flash; that is what it is for.
Both scripts shell out to arduino-cli and esptool from the Arduino
ESP32 toolchain — the build step is the one piece the mjsx CLI has not
absorbed (push, OTA, and wifi provisioning are wrapped).
Provisioning: wifi over the wire
Section titled “Provisioning: wifi over the wire”The board answers a line-based JSON command protocol on USB serial and on TCP port 8765 — same handler, both transports.
{"c":"wifi","ssid":"...","pass":"..."}saves credentials the same place the touch flow does and reboots into them. A fresh board on a USB cable should not depend on typing a passphrase into whatever glass it happens to carry — the round display made that vivid.{"c":"wifiget"}returns the stored credentials — over physical USB serial only, never the network. Holding the cable is owning the box; asking over TCP is not.
Together they are the two-cable credential clone: wifiget from a
provisioned board, wifi into the new one, and a passphrase never
crosses a keyboard or the air. Once joined, the board announces itself
over mDNS (filman.local in the current firmware).
The on-hardware verification loop
Section titled “The on-hardware verification loop”Everything needed to develop against a real panel without touching it:
- Push:
bun scripts/ui-push.mjs <ip|/dev/tty...> [appfile]builds the JSX locally (so a syntax the engine cannot parse fails on the dev machine, not on a board with no console), sends the bundle in base64 chunks over TCP 8765 or USB serial, and starts it. - See:
GET /screen.jpg?q=45returns the live frame as JPEG (a UI screenshot is flat colour and compresses to a few kB);/screen.bmpis exact, for when the question is a pixel’s actual value. - Touch:
GET /tap?x=120&y=140presses and releases;/touch?phase=0&x=..&y=..gives press/move/release separately. Both inject where a real press does, so they exercise calibration, gestures and the UI exactly as the glass would. - Recover:
{"c":"jsreset"}resets the JS engine;{"c":"rescue"}stops the running script and shows the native wifi flow (the same place a very long BOOT-button hold lands), so a script that wedges the screen never needs a reflash.jsinfo/jsstatreport how far an eval got when it never answered.
The loop is push → screenshot → tap → screenshot, over WiFi, in seconds.